
Run a language school with AI agents - step by step
You set up a school, create groups, invite students with a code and configure AI agents for them. Below we walk through the exact screens you get in the teacher panel.

Teacher guide: set up your class
How to create your school and groups, invite students with a code, build a knowledge base and track progress.
From setting up a school to a ready group
We show each step on a real teacher‑panel view - the very components you click in the app.
Create a school / teacher account
You register as a school - that’s the owner account. You instantly get a school email your students use to join your groups.
- The owner account can add more teachers.
- The school email + code is the key for students to join.
Create a group (class)
In the “Groups” tab you click “New group” and set the name, language, level and description. A group gathers students, their agents, materials and shared goals.
- You set the language and level default for the whole group.
- Each group has its own invite code.
Invite students with one code
You open a group and generate a 6‑digit code (valid 48 h). The student enters the school email and code in the mobile app - and lands in your group right away. No manual account setup.
Expires in 47 h 12 min. Give students the school email and this code.
Generate a new codeAsk your teacher for the school email and a 6‑digit code. Codes are valid for 48 hours.
Configure AI agents for your students
You open a student’s profile and the same agent creator the student uses - with the full set of options (personality, voice, error correction, goals, materials). You can prepare ready agents before the student even logs in.
- The same editor as on the student side - every setting.
- You upload PDF materials for students and set a learning goal.
- See the full list of options on the student page.
Add more teachers
As the school owner you add sub‑teachers who run their own groups. Each sees their classes and students - you have the full picture of the whole school.
- Roles: owner (whole school) and teacher (own groups).
- You invite a teacher by email in seconds.
Upload your school logo - students see your brand
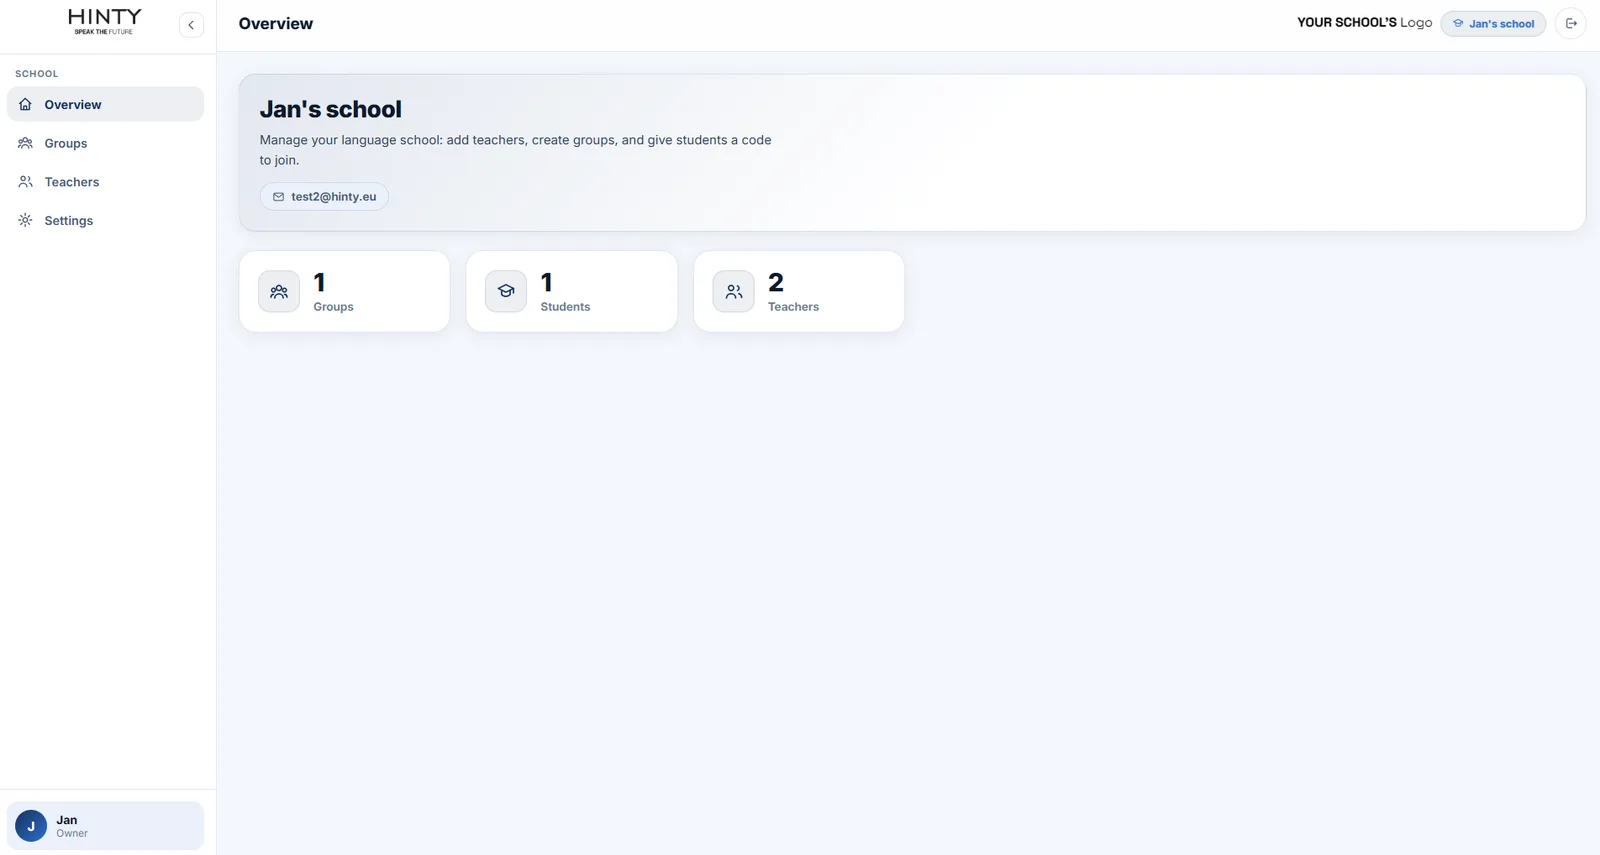
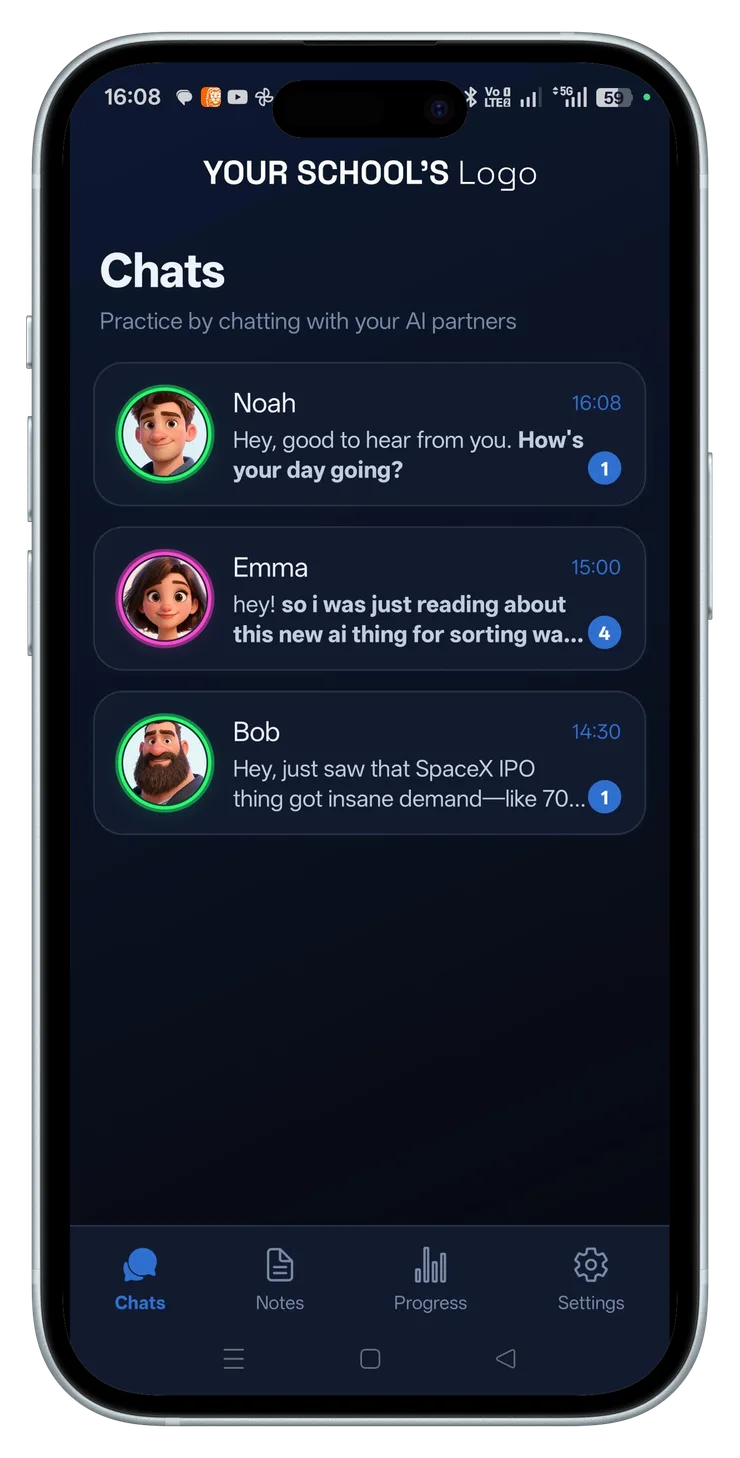
In the school settings you upload your own logo (separately for the web and mobile versions). From then on your students see your school’s logo instead of Hinty’s - both in the mobile app and the web panel. It’s your platform, under your brand.


You set a goal for the group - and the panel shows what to teach next
Agents run conversations toward the group goal and analyse each student’s mistakes. The panel collects the shared weak spots of the whole class - a ready signal for planning the next lesson - and shows progress student by student.
Goal for the group
Agents run conversations to pursue the class goal.
Shared weak spots
You see what the class struggles with most - and what to teach next.
Progress student by student
Each student has their own goal‑mastery bar and level.
What most students struggle with - a topic for the next lesson.
Ready to launch your school?
Create a school account, build your first group and invite students with one code.